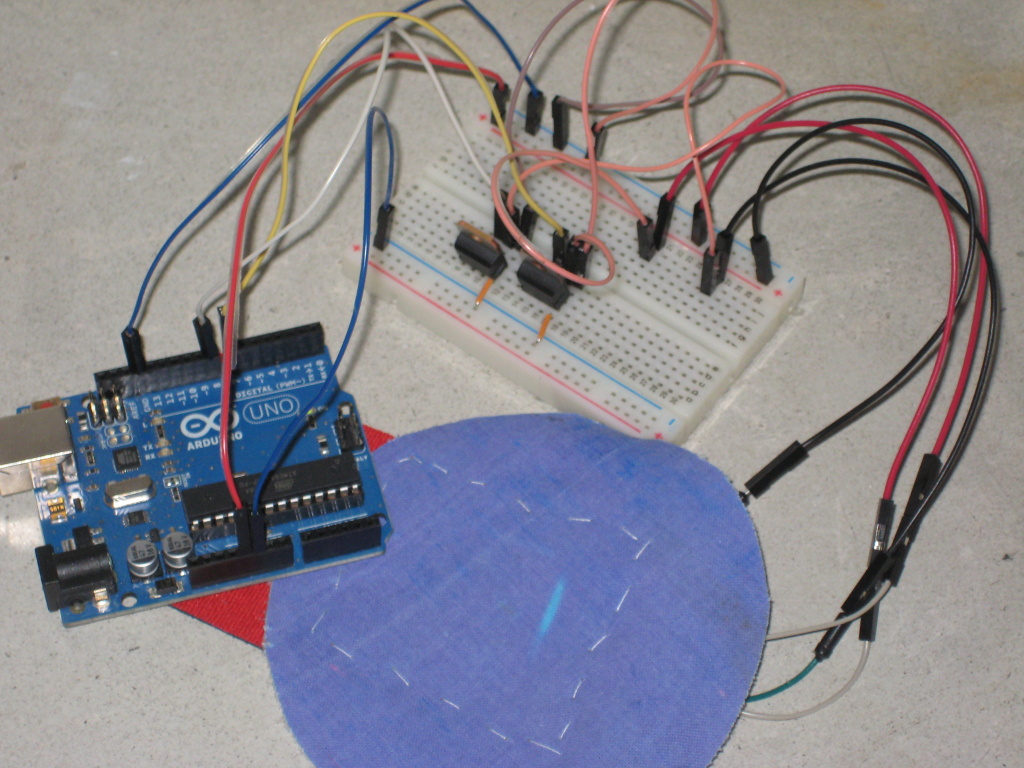
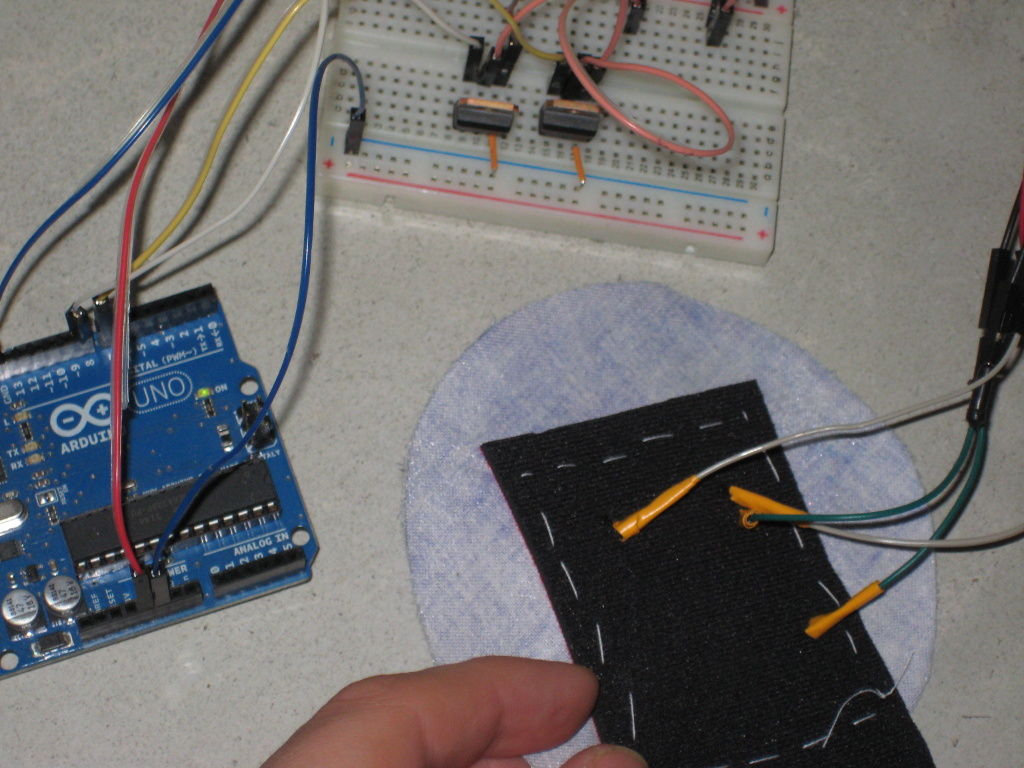
The project started with Hannah's Elektronik und Handwerk Workshop. My goal was to build a 7-segment textile display using thermochromatic pigments on a textile and an Arduino heater. I just managed two segments.
The electronics is a simple heat circuit, but even simpler. Don't blame me if your textile goes up in smoke :-)
The Arduino is powered by a 9V DC supply rated with 0.6A. Arduino's green power LED dims slightly when the heater goes on... Ambient air temperature was about 0 degrees celcius, so the thermochromatic pigments go back to their initial color quickly after the heater turned off.
Next step would be to add a temperature sensor (e.g. by means of a thermistor and an ADC) and beef up the heating algorithm.
Here is a video (45 sec, 3.6 MB, H.264, 640x480) and some pictures.
 |
 |
 |
 |
int led = 13;
int heater1 = 7;
int heater2 = 8;

void setup() { // initialize output pins
  pinMode(led, OUTPUT);
  pinMode(heater1, OUTPUT);
  pinMode(heater2, OUTPUT);
}

void loop() { // heat two iron threads in alternating way
  digitalWrite(led, HIGH); // LED on
  digitalWrite(heater1, HIGH); // turn on first heater
  delay(1100);
  digitalWrite(heater1, LOW);
  digitalWrite(led, LOW); // LED off

  delay(9000);

  digitalWrite(led, HIGH); // LED on
  digitalWrite(heater2, HIGH); // turn on second heater
  delay(1300);
  digitalWrite(heater2, LOW);
  digitalWrite(led, LOW); // LED off

  delay(9000);
}